Your Guide to Selecting the Perfect Hiking Shoes for Challenging Terrains
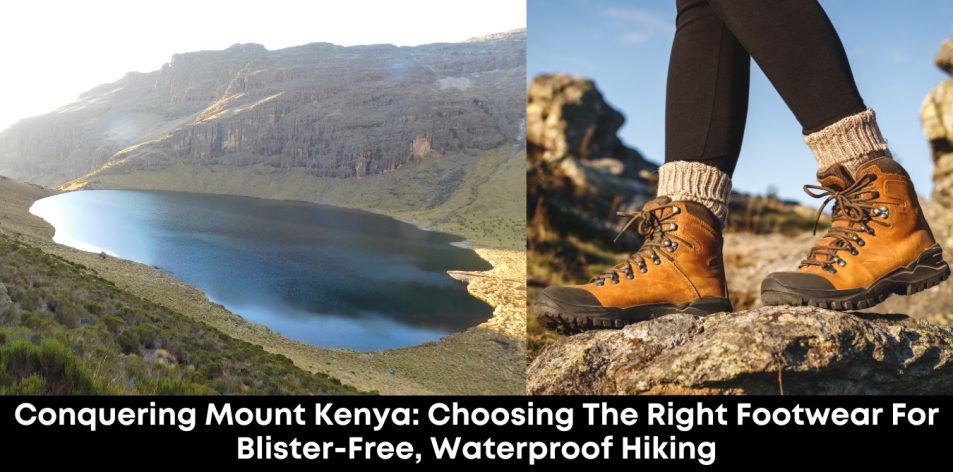
Embarking on a hike up Mount Kenya, or any demanding trail, requires careful preparation, and perhaps no piece of equipment is as critical as your footwear. The right hiking shoes can make the difference between an exhilarating adventure and a painful ordeal filled with blisters and discomfort. This article provides a comprehensive guide on selecting the ideal hiking shoes, focusing on features that ensure comfort, waterproofing, and performance on varied terrains, especially for challenging ascents.
Key Considerations When Choosing Hiking Shoes
1. Type of Footwear: Boots vs. Shoes vs. Trail Runners
- Hiking Boots (Heavy Duty): Best for Mount Kenya. Offer excellent ankle support, superior waterproofing, and robust durability for rugged, rocky, and potentially snowy terrain. They are heavier but provide maximum protection.
- Mid-Cut Hiking Boots/Shoes: A good compromise offering ankle support (though less than full boots), good waterproofing, and lighter weight. Suitable for multi-day hikes on varied terrain.
- Hiking Shoes (Low-Cut): Lighter and more flexible, suitable for day hikes on well-maintained trails. Generally offer less ankle support and waterproofing. Not ideal for Mount Kenya.
- Trail Running Shoes: Very lightweight and flexible, designed for speed on trails. Offer minimal support or waterproofing, making them unsuitable for the demands of Mount Kenya.
2. Waterproofing: Essential for Mount Kenya’s Conditions
Mount Kenya’s climate is highly variable, with possibilities of rain, snow, and boggy conditions, especially in higher altitudes and during certain seasons. Therefore, a waterproof membrane is non-negotiable.
- GORE-TEX (GTX) or eVent: Look for shoes/boots that feature reputable waterproof and breathable membranes like GORE-TEX or eVent. These technologies create a barrier that prevents water from entering while allowing perspiration to escape, keeping your feet dry and comfortable.
- Sealed Seams: Ensure the construction of the shoe includes sealed seams to prevent water seepage through stitching.
3. Fit: The Foremost Factor in Blister Prevention
An improper fit is the leading cause of blisters and discomfort. Always try on hiking shoes towards the end of the day when your feet are slightly swollen.
- Snug Heel, Roomy Toes: Your heel should feel secure with minimal slipping. Your toes should have enough room to wiggle freely, especially your big toe, to prevent rubbing and black toenails on descents.
- No Pressure Points: Ensure there are no tight spots or areas that pinch or rub anywhere on your foot.
- Try with Hiking Socks: Always try on shoes with the type of socks you intend to wear for hiking (typically thicker, moisture-wicking wool or synthetic blends).
- Walk Around: Spend at least 15–20 minutes walking around the shop, including up and down inclines, if possible.
4. Support and Stability
For Mount Kenya’s uneven and rocky trails, good support is vital to prevent twists and sprains.
- Ankle Support: Higher-cut boots offer better ankle stability, which is crucial on uneven terrain.
- Midsole: Look for a midsole that provides adequate cushioning for shock absorption and stability. EVA foam offers good cushioning and flexibility, while PU (polyurethane) is firmer and more durable.
- Shank: A rigid insert (often plastic or steel) within the midsole provides stiffness and protects your feet from sharp rocks and roots.
5. Traction and Outsole
The sole of your hiking shoe provides grip on various surfaces.
- Aggressive Lugs: Deep, multi-directional lugs (tread patterns) are essential for grip on loose dirt, mud, and rocky surfaces.
- Rubber Compound: A sticky, durable rubber compound will offer better grip and longevity.
- Heel Brake: A distinct heel edge helps with downhill traction and prevents slipping.
6. Material
- Full-Grain Leather: Highly durable, waterproof (if treated), and conforms well to the foot over time. Requires break-in.
- Synthetic Materials: Lighter, break in faster, and often more breathable than leather. They are usually combined with a waterproof membrane for water resistance.
- Nubuck Leather: A durable form of leather that is softer and more flexible than full-grain, offering a good balance.
7. Break-In Period
Never wear brand-new hiking shoes on a long trek like Mount Kenya without breaking them in first. Wear them around the house, on short walks, and then progressively longer hikes to allow them to mould to your feet and identify any potential hot spots before your main adventure.
Preventing Blisters Beyond Footwear
- Proper Socks: Wear moisture-wicking synthetic or merino wool socks. Avoid cotton, as it retains moisture and can cause friction. Consider wearing a thin liner sock under a thicker hiking sock.
- Lacing Technique: Learn different lacing techniques to secure your foot and relieve pressure points.
- Foot Care: Keep your feet clean and dry. Trim toenails. Consider using anti-blister balm or tape on known hot spots before you start hiking.
- Change Socks: On multi-day treks, change into fresh, dry socks daily or even midday if your feet get wet.
Embarking on Your Trek with Confidence
Choosing the right hiking shoes is an investment in your comfort, safety, and enjoyment on the trails. By carefully considering fit, waterproofing, support, and traction, and combining this with good foot care, you’ll be well-prepared to tackle the magnificent landscapes of Mount Kenya and beyond, enjoying a blister-free and invigorating adventure.

