A Simple Practice for Preventing Cracks and Ensuring Structural Integrity
In the world of construction and home building, the process of curing walls, ceilings, and floors after applying cement or plaster is often overlooked by homeowners, yet it is one of the most critical steps for ensuring the long-term strength and durability of a structure. Curing is not simply about drying; it is a controlled process of maintaining moisture and temperature to allow the cement to fully hydrate and gain strength. Neglecting this step can lead to a host of problems, most visibly, cracks. This article explains the importance of curing, the correct way to do it, and the ideal duration to ensure a solid and lasting finish for your home.
What is Curing and Why is It So Important?
Curing is the process of maintaining adequate moisture and a favourable temperature in concrete and mortar for a period of time after they have been placed. This allows for the complete hydration of the cement particles, a chemical reaction that is responsible for the material’s hardening and gaining strength.
Without proper curing, the moisture in the cement-based mixture evaporates too quickly, leading to a number of problems:
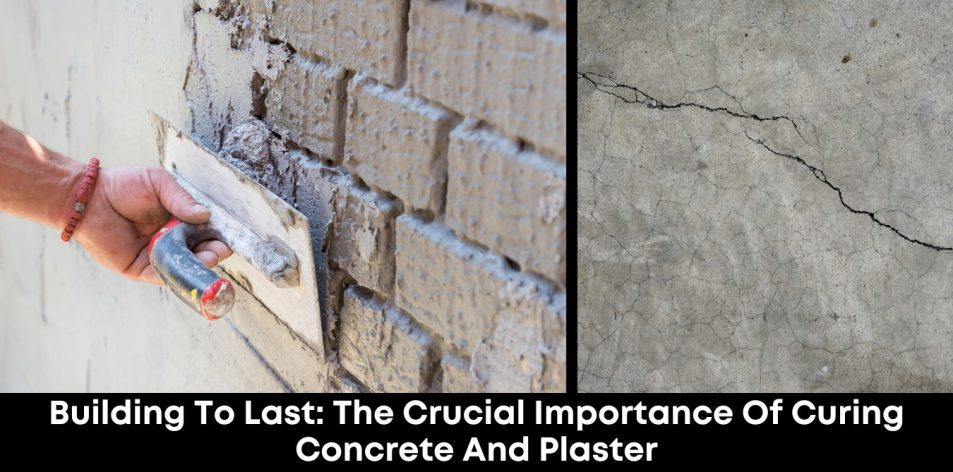
- Cracks: Rapid drying causes the surface to shrink faster than the inner layers, leading to unsightly and structurally weakening cracks. These can appear on walls, ceilings, and floors, compromising the finish and allowing water to seep in.
- Reduced Strength: If the cement does not have enough water to fully hydrate, it will not reach its designed strength. This results in a weaker, more brittle surface that is prone to crumbling and damage over time.
- Poor Durability: Improperly cured surfaces are less resistant to wear and tear, and more susceptible to damage from weathering and a high number of foot traffic.
- Lower Water Resistance: A well-cured wall is dense and less permeable. A poorly cured one remains porous, making it more susceptible to water damage and dampness.
How to Cure Your Walls, Ceilings, and Floors
The goal is to keep the surface moist for an extended period, allowing the hydration process to complete. There are several effective methods you can use:
1. Wet Curing (The Most Common Method)
- Spraying: This is the simplest and most widely used method. Using a hose with a fine spray, gently mist the plastered or cemented surface with water. Do this multiple times a day, especially during the morning and evening, to keep the surface continuously damp.
- Covering with Wet Materials: For floors and flat roofs, you can lay wet gunny bags, hessian cloth, or cotton mats on the surface and keep them saturated with water. This method is very effective at holding moisture.
- Creating Ponds: For floors and flat surfaces, you can build a small mud or sand barrier around the edges and fill the enclosed area with water. This forms a pond that keeps the surface submerged in water.
2. Membrane Curing
- Using Plastic Sheeting: After the surface has been sprayed with water, you can cover it with a plastic sheet (polyethylene film). This traps the moisture, preventing it from evaporating. This method is very efficient and requires less effort once the sheet is in place.
3. Curing Compounds
- Applying a Chemical Sealant: These are special liquid chemicals that, when sprayed or rolled onto a freshly plastered surface, form a thin membrane. This membrane seals the surface and prevents moisture from escaping. It’s a convenient method, especially for large areas.
How Long Should You Cure?
The minimum recommended curing period is 7 days, but for optimal results, a duration of 14 to 28 days is ideal, especially for structural concrete. For plasterwork on walls and ceilings, a minimum of 7 days is generally sufficient to achieve good strength and prevent cracks. The longer you cure, the stronger and more durable the surface will become. You should continue the process until the surface no longer absorbs water easily.
Tips for a Successful Curing Process:
- Start at the Right Time: Begin the curing process a few hours after the cement or plaster has been applied, once it has hardened enough to not be damaged by the spray of water.
- Consider the Weather: In hot, dry climates, moisture will evaporate faster, so you will need to cure more frequently. In cooler, more humid weather, you may need to do it less often.
- Consistency is Key: The curing process should be continuous. Do not allow the surface to dry out completely and then re-wet it, as this can still lead to cracking.
A Final Investment in Your Property
Curing is a small investment of time and effort that yields a massive return in the form of a stronger, more durable, and more beautiful home. By taking this simple, disciplined step, you are not just preventing visible cracks; you are ensuring the structural integrity and long-term value of your property. It’s a practice of patience and care that leads to a solid foundation for your family’s future.